
Creating the Perfect Look for a Night out
Interested in tips on how to create your perfect night-out look?
Whether it’s a night out on the town with the girls, or a date night with your significant other, we’ve got your back!

Perfect Night Out Looks
1) First, start by prepping your canvas. Make sure to wash, tone, and apply any serums or moisturizers before beginning your makeup look.
2) Apply any primers or eyelid primers first. Use a make-up sponge and patting motions to lay down your primer smoothly. Wetting and wringing your makeup sponge will help the sponge bounce easily when patting. Patting motions will allow your primer to fill fine lines, wrinkles and pronounced pores. Apply your eyelid primer from your eyelid to your brow bone, and your bottom lid under the water line. If you do not own an eyelid primer, a bit of concealer will help give your lid a nice base to apply shadows to.
3) There are quite a few methods you can use for applying your foundation. If using a makeup sponge or blender, the best method is to once again, bounce your foundation onto your face, taking extra care around your eyebrows, lips, and eyelids so as not to completely cover these areas with foundation. You can also use a dense foundation brush, or stippling brush, using small, circular motions to buff your foundation into your skin. Try not to wipe your brush across your face, as this may leave behind brush strokes.
4) After you’ve applied and set your foundation, you can move onto eyes, cheeks, and contouring. You don’t necessarily need to do all three of these things, that comes down to the look you’re trying to achieve and your overall comfort level with make-up application techniques. We will give you a few tips on each.
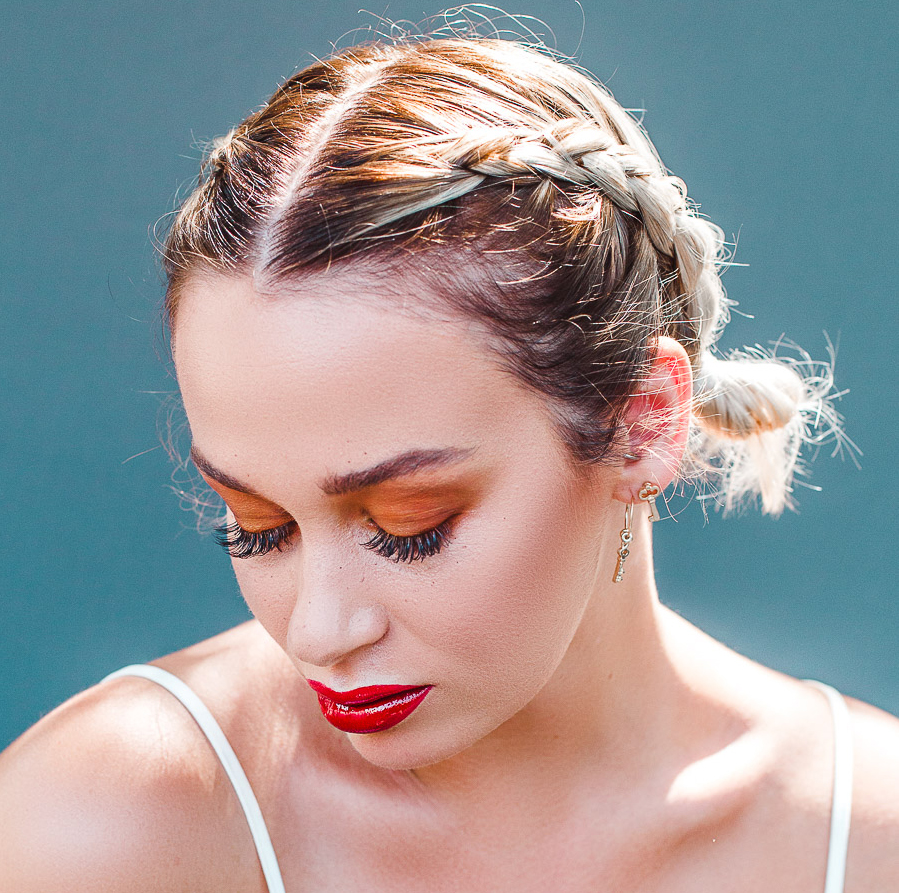
5) When applying your eyeshadow, always make sure to tap your brush after dipping it into your desired colored. Tapping the brush allows for extra product to fall over prior to applying to your lid, which help prevent fall out onto your freshly applied foundation. If using a dark, highly pigmented or glittery shadow, you can use a tissue below the eye to prevent excess from falling on your face. If you’re feeling really crafty, you can purchase shadow shields to place below your eyes as you work on your shadows.
6) Have you heard of contouring? Contouring is a much more recent trend, commonly associated with the ever-famous Kardashian clan. Contouring can seem quite intimidating, as many guides and kits approach contouring as a full face application. While doing a full face of contour is absolutely stunning, it is not always necessary. Sometimes just contouring a bit of your cheeks, forehead or nose can help minimize or maximize the contours of our face. When picking your shade, make sure to pick a shade 2 or 3 levels deeper than your foundation shade, coordinating with your undertones (cool, neutral and warm). If you pick a shade that is different from your undertone it could end up looking muddy, avoiding shimmer is also important.
Texture matters! Contour products usually come in powder, cream or cream stick. Choosing which type is best for you once again comes down to your comfort level with makeup application and preference. A cream can be easily blended and toned down, but a powder can be more sheer and easily built up. Skin type also matters, if your skin is oily, avoid creams, and if your skin is dryer, you may want to avoid powders.
Where to contour: Use your ears as a guide, apply a light stripe from the corner of your mouth to the ear, cutting through your cheekbone on each side. Blend and buff the product in the skin, until it is slightly visible. Once again, apply a light stripe from the bottom of your chin to the very bottom of your earlobe on each side of your face, blend and buff. You can also apply a bit on the side of your forehead to help close in your forehead, and a small stripe on either side of the bridge of your nose. Blending and buffing to help avoid any harsh lines.
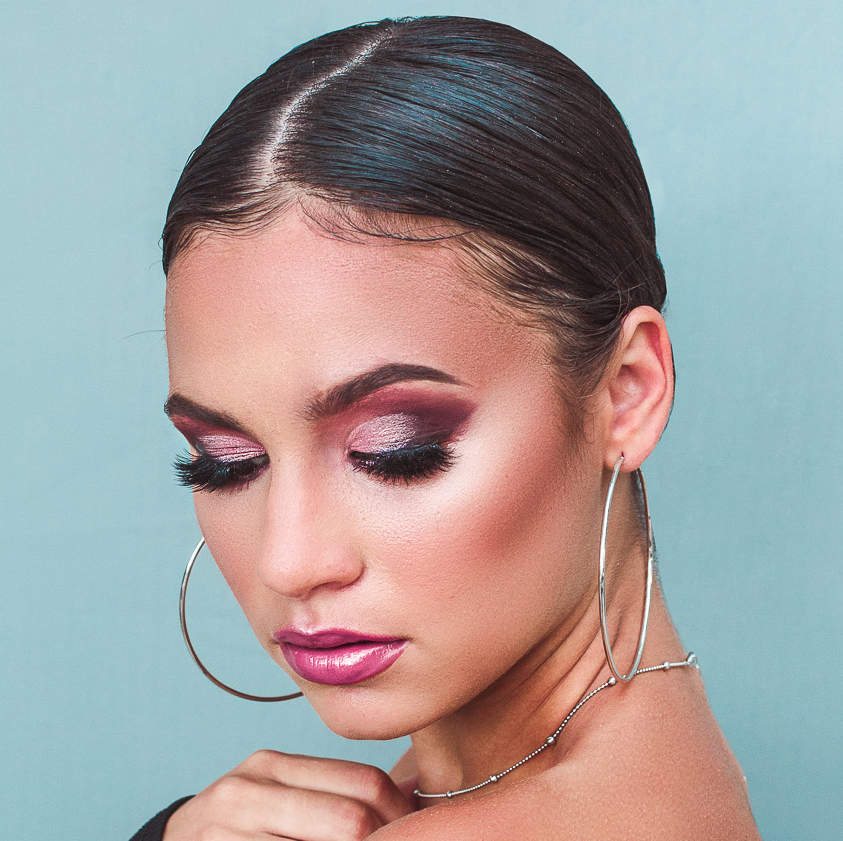
7) Highlighting can add an instant glow! Highlighters have a huge range to work with, from matte to pearlescent and even quite sparkly. A matte highlight works awesome in conjunction with contouring and if you’re looking to amplify points in your face without adding too much shimmer. If you love a bold look or are feeling mermaid vibes, go for a highlighter loaded with sparkles and flair.


8) Don’t forget to blush! We are all relatively familiar with blush and what its purpose is. One of the oldest beauty tricks in the book, from the days of rouge to the high glam of the eighties, blush is an ever present concept in the makeup game. When picking your blush, once again, consider your skintone and undertone. For a natural look choose a blush that is the same undertone as your skin, if you’re looking for something more bold, pick a shade that is opposite your natural undertone.
Fair Skin/Light Skintone: Soft pinks, light corals, and peaches. If your undertone is cool, a soft pink will give you a natural look, and a peach/coral shade will give you a pop of boldness. If your undertone is a bit warmer, a peach/coral shade will be your go-to for a natural look, and the soft pink will look bold.
Medium Skintone: Rich pinks, warm mauves, and deep peaches. For cool and pink under tones, rich pinks and mauve shades will look more natural, and deep peaches will stand out more. If you’re warmer or more golden, then you will use the above shades oppositely. A deep peach will give you a more natural blush, rich pinks and mauve blushes will give you the bolder look.
Deep Skintone: Deeper skin is complimented by deep fuchsia, berry warm brown, raisin and tangerine. Cooler undertones are complimented by fuschia and light berry shades for a natural look. Tangerine hues will look bold. If your undertone is more golden, a warm brown or tangerine will be better for a natural look, and pinks and berries for something that stands out more.
9) Setting spray, setting spray will help keep your makeup from smudging, smearing and lasting all night. There are many setting sprays to choose from, and some are meant to combat things such as oiliness, dryness, and redness. Choosing the setting spray that is right for your skin type will help with the longevity of your look.
10) Add a little pizzazz: You can always amp up a more subtle look with winged liner, a bold lip or something fun like a colored or glitter eyeliner. Remember, there are very few rules to makeup and always room to dress it up. There are amazing resources all over the internet and social media where you can draw inspiration or get tips.
Come see us!
If you’re still not feeling quite as cozy with your makeup application as you’d like for your night out or event, you can always visit our talented providers at Urban You! We offer Makeup applications and Hairstyling.